
Taking a break from all the posts on how to construct your own 3D printer, I’ve decided to post a few pictures and videos of the printer in action, to give those who are in the process of building their printer an idea of how it will behave once the printer is complete and something to look forward to. The image of the printer actually printing objects is what sustained me through those long hours of crimping wires.
These are from a recent print. I modified a ‘sensor holder’ I found online (via Thingiverse) to fit my printer using an Open Source CAD software (TinkerCAD). This is how it looked originally (the white portion):
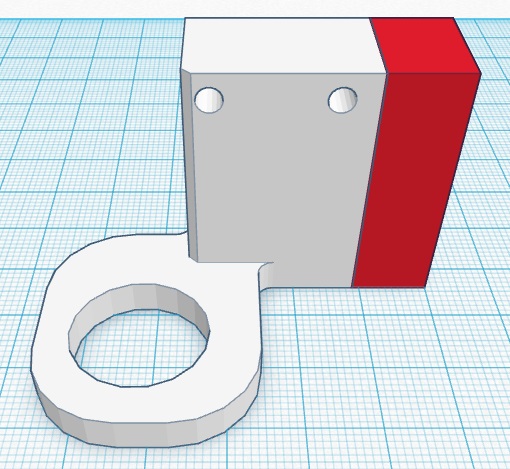
And this is how it looked after I finished with it:

I had to extend the flat portion of the object a little and had to add an extra screw-hole.
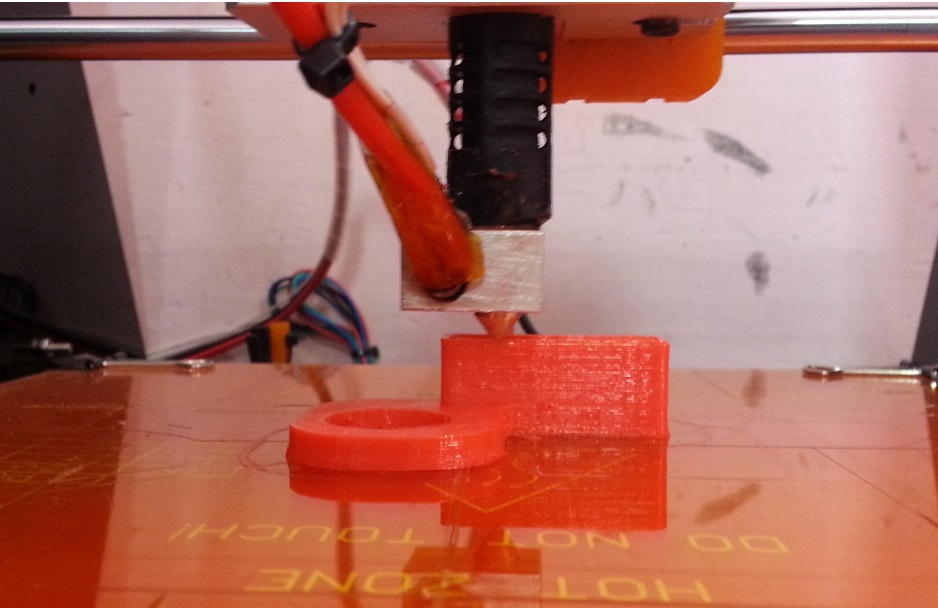
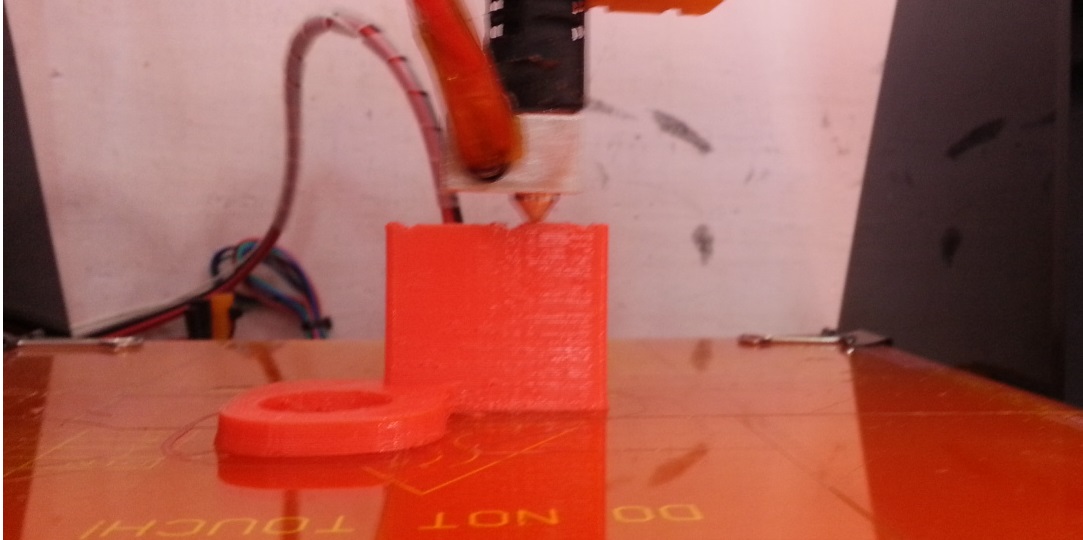
And this is how it looked during and after the print:
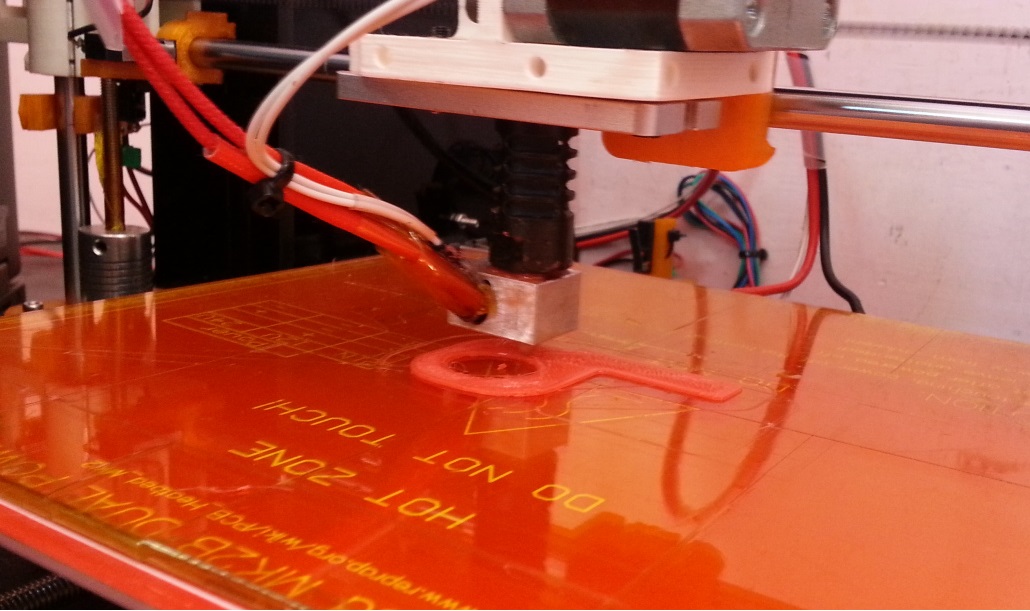
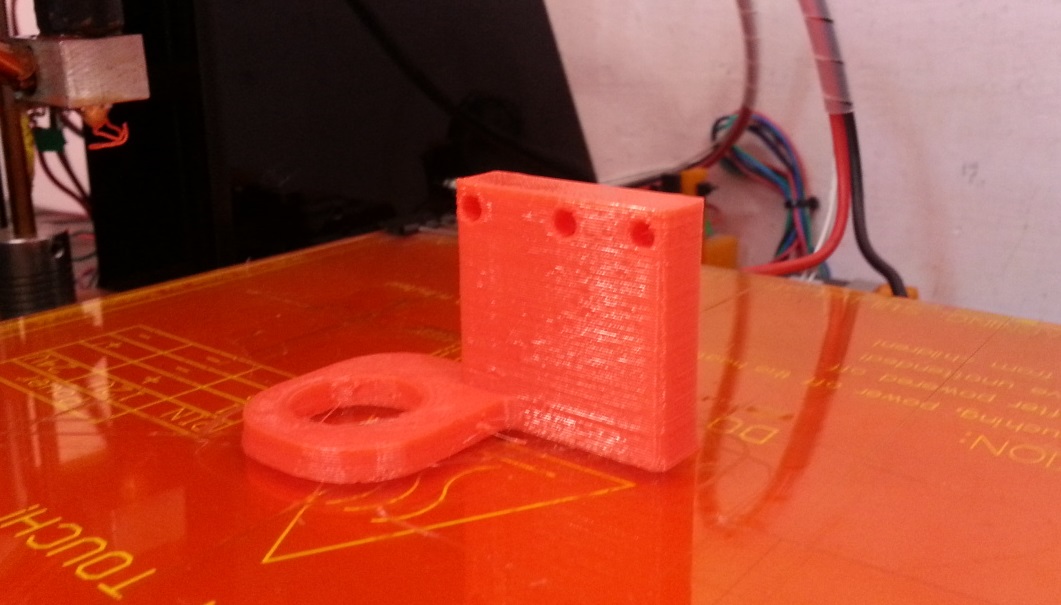
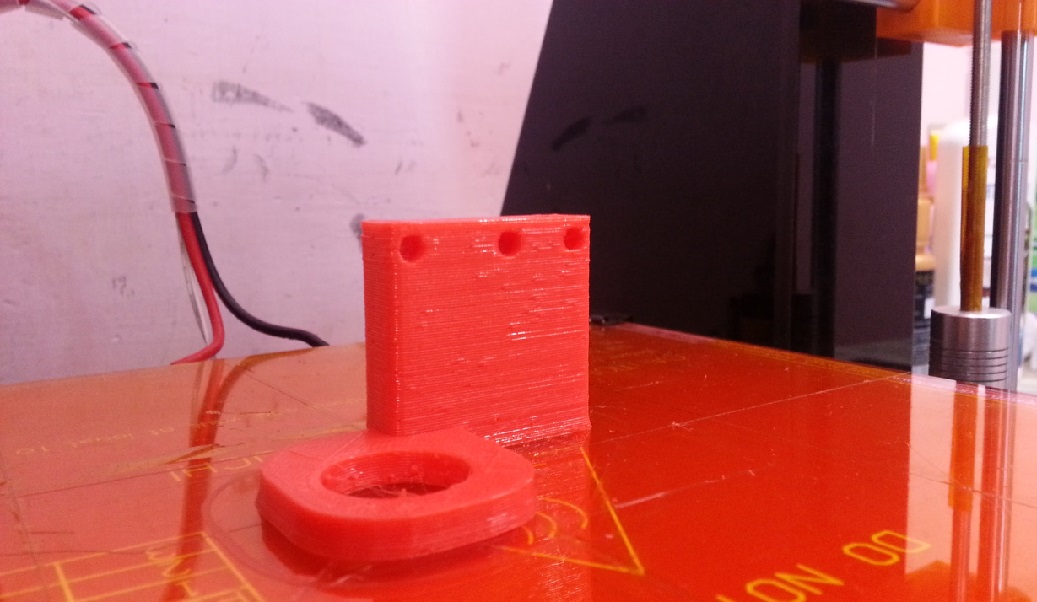
I needed this part for something I am working on – Auto Bed Leveling – for the printer. The round hole of this part will support a capacitive sensor 18mm in diameter. The Auto Bed Leveling itself will make it easy to level the heat bed of the printer so that the first layer (which is the most important layer) comes out perfectly straight and horizontal. I will add a post on how to upgrade to ABL once we are done with all the construction posts.
This is one of the primary reasons why I wanted a 3D printer, and why I decided to build one for myself. A 3D printer greatly reduces the gap between mind and manufacturing – that is, it destroys the physical and mental barriers between imagining something and manufacturing it. I went from designing this object to holding it in my hands in 1 hour.
Thank you for reading. I’ll soon post the final post of the 3D printer construction guide.
*-*

Leave a comment